What every guy should know about cooking and being the master of his own kitchen.
Break out the grill and most guys are willing to handle the cooking duties. But let’s face it—we don’t necessarily want to eat grilled meat for every meal. (I know, right now, there are plenty of male readers asking, “Why not?”)
The fact is many of the world’s greatest chefs are men—and they certainly do more than grill, and they cook more than meat. At the same time, there are plenty of other males whose idea of cooking involves little more than a can opener and a microwave.
With that in mind, we set out to find 12 skills and tips every guy should know. Master these and you can impress your mom, wife or date. At the very least, you can feed yourself with nary a fast-food wrapper or microwave in sight.
No. 1: Buy a good set of kitchen knives.
A good weapon is the best place to start, right? But seriously, far too many people use cheap, dull knives and wonder why a) chopping is hard work and b) they cut themselves.
Every professional chef will tell you a set of quality knives is essential. Go to a restaurant supply store and ask for recommendations. Choose ones that feel good in your hand.
At the very least you’ll want:
- Chef’s knife
- Paring knife
- Fillet knife
- Boning knife
- Serrated knife
And keep them sharpened. You’re much more likely to hurt yourself with a dull knife.
______________________________
No. 2: Get a cast-iron skillet.
This inexpensive classic is a must for frying, searing and making the perfect grilled cheese. Cast iron distributes heat evenly and holds it.
If your pan isn’t “pre-seasoned,” here’s how to season it, which essentially makes a non-stick coating. (This technique also works to “re-season” an older pan.)
Using a stiff brush, wash it with hot, soapy water. Rinse well, and dry completely. With a folded paper towel, apply a thin, even coating of vegetable oil to the inside and outside of the skillet.
Place on the top rack of your oven set to 350°F, and leave it there for an hour. (A sheet of foil on the bottom of the oven will catch any oil drips.) Turn off heat, and let the skillet cool completely in the oven.
Once seasoned, keep soap and scouring powder away from your cast-iron skillet. From here on, clean it simply by sprinkling with kosher salt and rubbing with a paper towel; then rinse with hot water and dry immediately with paper towels. Apply another thin, even coating of vegetable oil to the inside before storing.
______________________________
No. 3: Heat the pan first.
While we’re on the subject of cast-iron skillets—or any other pan, for that matter—here’s an easy rule to remember: Don’t put food in a cold pan. Always give the pan time to heat up before you add food and start cooking. It only takes minutes and everything will turn out better.
______________________________
No. 4: Read the recipe through before you start.
Whether you’re a novice in the kitchen or have been cooking for decades, always read completely through the recipe before starting. Actually, reading it twice is a better idea.
Otherwise, it’s easy to get up to your elbows in chopped onions before you realize the recipe calls for an ingredient you don’t have or that the meat you hoped to put in the oven now requires hours of marinating.
______________________________
No. 5: Taste while cooking.
This might sound simple, but you’d be amazed how many people wait until they serve food to take the first taste. How will you know if it needs more salt or seasoning or a few more minutes of cooking if you don’t taste during the process? Many a dish can be salvaged if you learn to taste as you cook.
______________________________
No. 6: Use quality oil.
A high-quality olive oil will enhance every dish you use it in. “Extra virgin” is more flavorful than “virgin,” making it great for dipping and dressings. For cooking, choose a good virgin oil.
______________________________
No. 7: Learn to cook pasta like a pro.
You don’t have to be Italian to know that plenty of great dishes involve pasta, so you’ll want to cook it the right way.
Use a large pot, and add enough salt that the water tastes like seawater. Bring that salted water to a rolling boil before adding the pasta. While it’s cooking, stir occasionally to keep pasta from clumping.
Never add oil to the water. You might have heard this will keep the pasta from sticking together. True, but it will also keep sauce from sticking to the pasta.
Don’t overcook! People often boil pasta to death and end up with a lump of soggy mush. Check doneness two minutes before the recommended cooking time on the box. You want “al dente,” which should be “springy” and slightly firm.
Drain the pasta once it’s cooked, but don’t rinse it or you’ll remove the starchiness that helps the sauce cling.
______________________________
No. 8: Rest the meat.
During the cooking process, the juices in meat move outward. If you slice into it as soon as you’re done cooking, you’ll lose a lot of that flavorful juice.
Instead, let the meat rest, and that tasty juice will move back toward the center of the piece of meat and remain there. Let a steak rest three to seven minutes, while a roast should rest for 10 to 20 minutes. A turkey can rest as long as 30 to 45 minutes.
______________________________
No. 9: Cook bacon in the oven.
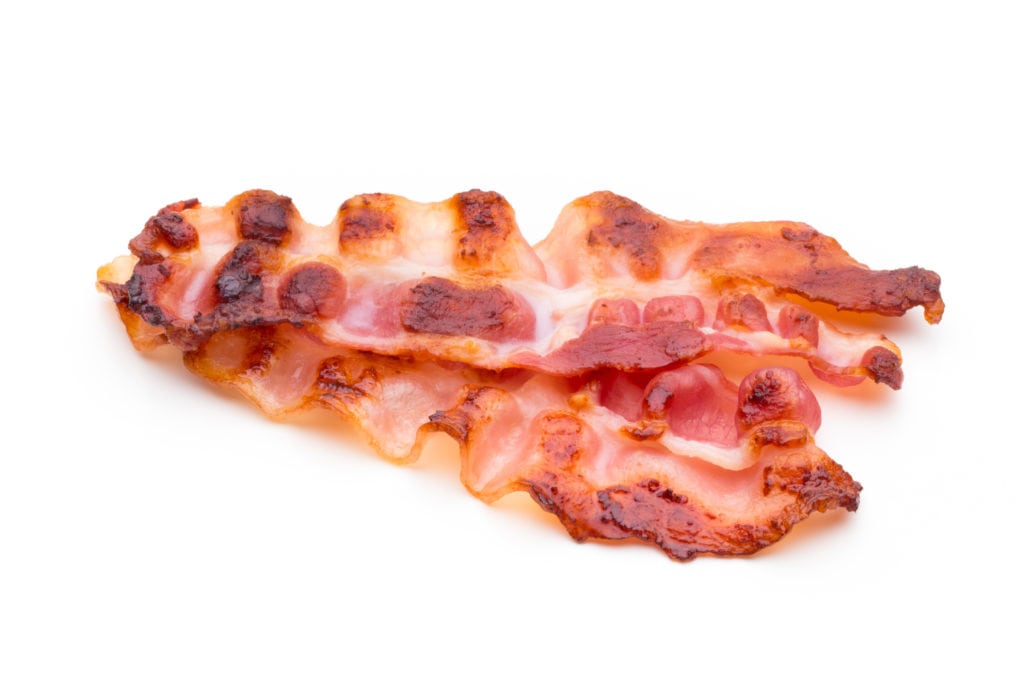
For crisp, evenly cooked bacon every time, use your oven.
Preheat oven to 400°F. Line a baking sheet with aluminum foil that extends slightly over the edges to speed cleanup. Place strips of bacon side by side; it’s OK if they’re touching.
Bake until bacon is cooked through and crisp, which takes anywhere from 12 to 20 minutes. No flipping required.
Before serving, you can place cooked bacon on paper towel-lined plate before serving to remove excess drippings—or not.
______________________________
No. 10: Master the perfect omelet.
Use that just-right bacon to accompany the perfect omelet you’re going to make in your cast-iron skillet. An omelet makes a delicious meal, so master this and you can serve it for breakfast, brunch or dinner. (You can add other ingredients to change it up: cooked ham or sausage, chili peppers, etc.)
Get your ingredients ready ahead of time:
- 1 tablespoon unsalted butter
- 3 large eggs
- 5 tablespoons finely diced veggies (onion, bell pepper, tomatoes are a great combination)
- 2 tablespoons finely chopped mushrooms (optional)
- Kosher salt
- Freshly ground black pepper
- 1/4 cup grated cheese (cheddar, Swiss or mozzarella)
In a small bowl, whisk the eggs until frothy; season well with salt and pepper. › Set aside. › Preheat skillet over medium-high heat. (Remember, we don’t add ingredients until the pan is hot!) › Add butter, and melt. › Stir in diced veggies (and mushrooms if using), and sauté until just tender—about three to four minutes. › Add the beaten eggs to the pan with the cooked veggies, and allow to cook without stirring for 45 to 60 seconds. › Take your spatula and lift the cooked part of the omelet from the bottom of the skillet, while tilting the pan so any uncooked egg reaches the heat. › Continue cooking until the eggs have mostly set, but the top of the omelet is still moist. › Then use the spatula to flip it over in the pan. › Sprinkle the cheese on top, and allow the underside of the omelet to cook another 45 to 60 seconds. › Fold the omelet in half as you remove it from the pan and onto the plate. › Serve immediately.
No. 11: Know how to roast veggies.
The taste of roasted veggies far exceeds the work involved, and you can roast just about any kind: broccoli, asparagus, cauliflower, potatoes, zucchini, yellow squash, cherry tomatoes, onions, carrots, Portobello mushrooms—the list is almost endless.
Preheat oven to 425°F while you’re prepping the vegetables. Just wash them and cut into pieces—florets for cauliflower and broccoli, stalks for asparagus and large bite-sized chunks of others.
Place the prepped veggies of whatever kind in a large bowl and drizzle with good quality virgin olive oil. Toss in the bowl so all pieces are covered lightly with oil, and season with freshly ground black pepper and kosher salt.
Spread in a single layer on a large baking sheet covered with aluminum foil for easy cleanup. Roast for 30 to 40 minutes until done, stirring a couple times.
______________________________
 No. 12: Perfect your steak skills.
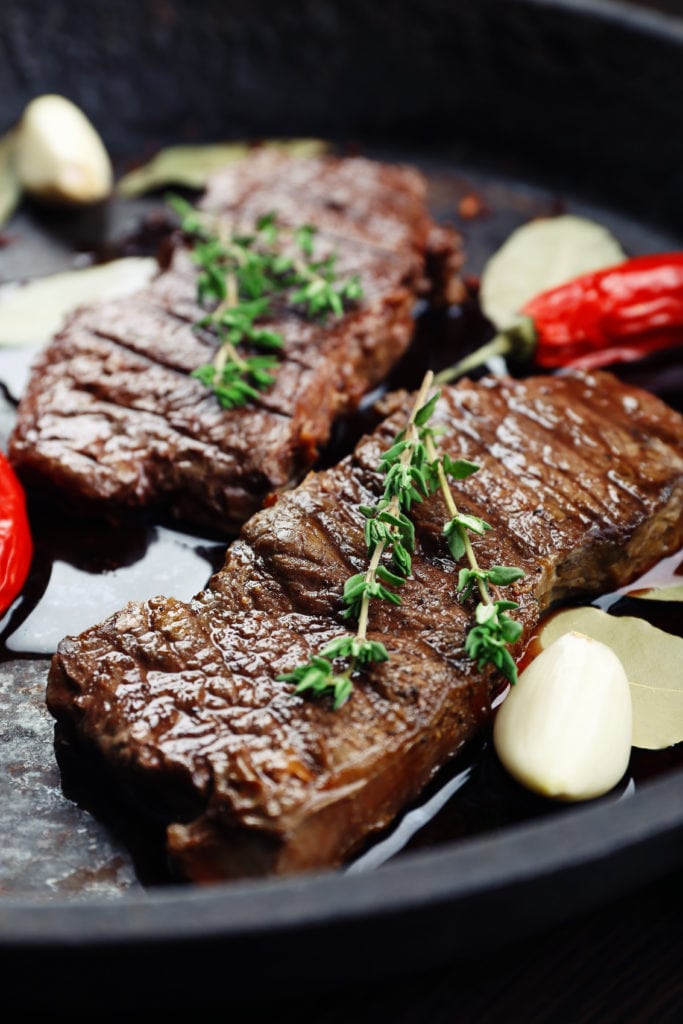
Cooking steak in a pan instead of the grill keeps the flavorful juices in the meat, so break out that trusty cast-iron skillet. Here’s what you need to cook a 2-inch thick rib eye, such as American Wagyu beef.
If frozen, thaw overnight in refrigerator. Allow to come to room temperature 30 minutes before cooking. Pat dry with paper towels and rub all sides (including edges) with kosher salt. Let sit 15 minutes.
Preheat skillet to medium-high heat. Once hot, pour in one tablespoon of high-heat oil (such as corn, soybean, peanut or sesame). When the oil “dances,” place the rib eye in the pan, pushing it down with your spatula for an even sear.
Searing time per side in minutes:
- Rare to medium rare: One totwo minutes
- Medium: Three minutes
- Well done: Four to five minutes
When you flip the steak (only do this once), add four tablespoons butter and a whole unpeeled clove of garlic to pan; baste constantly for the remainder of cooking time.
Place steak on cutting board. Sprinkle with pepper and salt. Let rest several minutes. Using your chef’s knife, slice the steak against the grain.


