 Let’s talk feature walls.
It’s that big, blank wall that stands out for one reason or another and, let’s face it, needs a little attention.
So here’s the deal. Your feature wall should speak your language. It should tell your story. It should scream out (or subtlety say, depending on your mojo), “I am here. I am home.”
A quick Pinterest search will reveal plenty of creative ideas for spicing up your feature wall. You could wallpaper, but that’s so permanent. You could use wood to create a 3D pop out. Super stylish, but you’ll need time and money, not to mention a little skill. You could shop for that one exquisite piece of art; that’s always fun.
But what if you could create a stunning feature wall using only painter’s tape, paint and a little imagination? It’s so simple. There’s really only one rule—you just have to let yourself go. Spend a little time dreaming on Pinterest or browsing through home magazines to find the look that best suits you.
 Be daring and bold or subtle and simplistic.
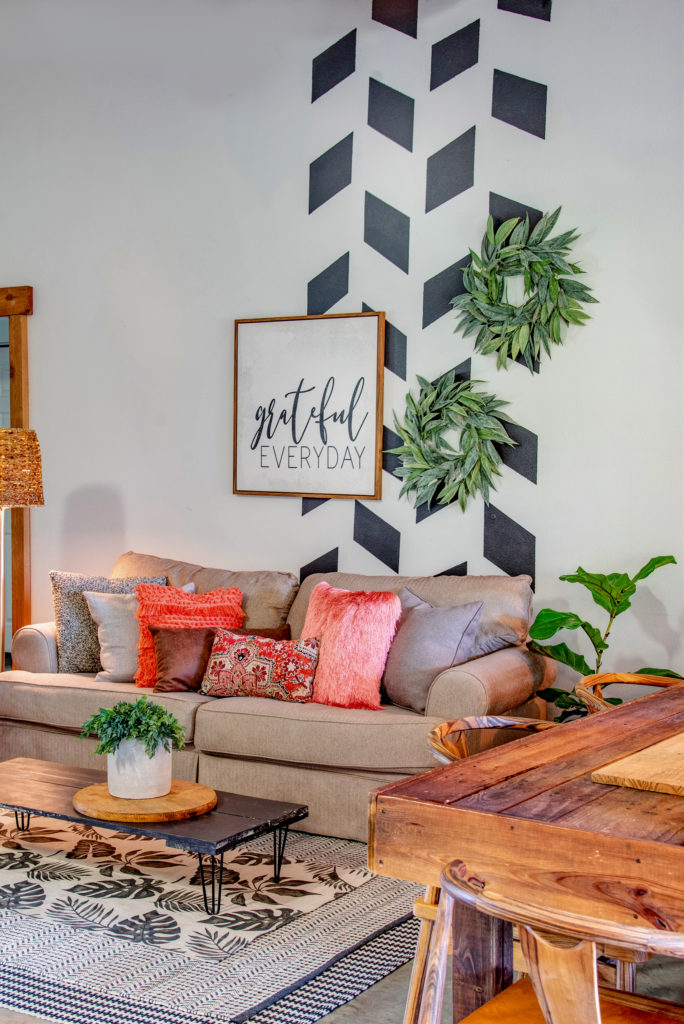
Designs in the art world are shifting from natural and minimal to eclectic and bold! Now, more than ever, we are seeing a mix of patterns, colors and styles. It’s the chance we need as DIYers to be brave and try new ideas.
The use of geometric patterns has been on trend for a few years now and is still going strong. For my feature wall, though, I chose to go with straight lines. I knew that I could create the modern boho look I crave with the straight edge of painter’s tape.
Here’s how I created my feature wall:
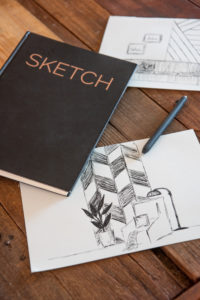
Step 1: I found a design that was simple, yet interesting enough to be worthy of my wall.
Step 2: Once I made a decision, I sketched out some ideas on paper. You don’t have to be an artist to do this. Give it a shot. You’ll surprise yourself.
Step 3: Next it was time to map out the design on my wall with painter’s tape. I made a few adjustments where needed.
Step 4: When I was happy with the overall look, I secured the tape edges to the wall by running my finger up and down the sides a few times.
Step 5: Then I applied paint to a roller and painted the taped-off area. (You can also use a brush depending on the design you choose.)
Step 6: I allowed the paint to completely dry before pulling the tape off the wall.
Just go for it! The absolute worst scenario is that you hate it and have to paint over it and try again. With minimal effort and minimal funds, you can instantly change the mood of your space.
For more DIY tips and projects, follow me on Instagram: @aprilrosedesignco.