Spring comes early in North Central Florida—at least when compared to many other parts of the country. It’s time to pay a visit to your local nursery, pull on those gardening gloves and start digging in the dirt.
But wait. Do you know where to get started? Maybe you’d like to plant a vegetable garden and a few potted herbs. Perhaps you love roses, but don’t have any because you’ve always heard they’re difficult to grow.
Take heart, the experts are here to help.
Marion County Master Gardeners are not only dedicated gardeners but also highly educated in all things green and growing. Plus, they’re eager to share their knowledge with anyone who wants to learn more about gardening in our area. To greatly increase your odds of green thumb success, read on to meet four local Master Gardeners who share their practical gardening tips.
Herbs
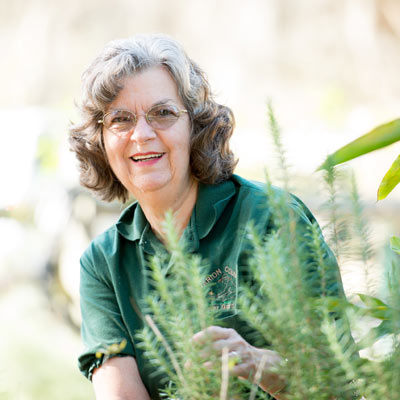
When it comes to herbs, Pat Greenfield wrote the herb grower’s “Bible” for Marion County Master Gardeners. This native of Pennsylvania moved to Marion County in 2006 and became a Master Gardener the following year.

“I studied horticulture at Penn State, and my love for it has always been there,” says Pat, who lives near Salt Springs.
Although her first interest in herbs was culinary, her curiosity increased when she developed health issues and didn’t want to use traditional medicines. When asked to take over the Master Gardeners’ herb garden, she found herself studying herbs and learning as she went.
There are both medicinal and culinary uses for herbs, and they can also be used for insect control. Depending on the herb in question and the particular use, you may use its leaves, flower, root and/or the entire plant.
“Some of the most common culinary herbs are basil, bay, chives, cilantro, dill, fennel, ginger, lemon grass, marjoram, mint, oregano, parsley, rosemary, sage, tarragon and thyme,” says Pat. “If you are new to using herbs and are interested in learning more about cooking with them, refer to a good reference book on herbs or a gourmet cookbook.”
Almost all herbs require soil rich with compost and good drainage. Most herbs can be grown in containers, making it easy to move them to a protected area during cold weather. If you’re new to herbs, a few easy ones to get started with include basil, chives, cilantro, dill, fennel and parsley.
Pat’s Helpful Herb Tips
When using fresh, soft-stemmed herbs like parsley, dill or basil, the leaves do not need to be stripped from the stems. Just chop or mince the entire leaf and stem.
When cooking with fresh, woody-stemmed herbs like marjoram, thyme, sage and rosemary, the leaves should be stripped from the stems and then chopped.
Herbs are easy to dry or freeze. Preserving them in these forms makes them available throughout the year. Prepare the herb the same way you would if cooking fresh, and then put it into small freezer bags and freeze or put into a dehydrator for drying.
To discourage mosquitoes, fill containers with the leaves of basil, pennyroyal, santolina, southernwood, scented geraniums (citronella) and wormwood. You can even rub the leaves on your skin as a natural repellent.
Leaves of pennyroyal and tansy will repel ants inside the house.
Bay leaves deter weevils in flour, grains, rice and pasta.
Leaves of feverfew, southernwood and wormwood and the flowers or leaves of lavender and santolina will repel moths.
Leaves of catnip and tansy repel mice and rats.
Lemon balm and monarda (bee balm) attract bees, and if planted in or near your garden, they will help encourage pollinators.
Vegetables
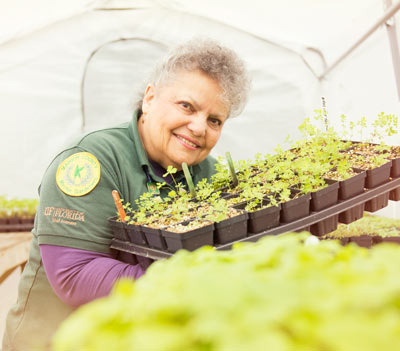
Although Josephine (“Jo”) Leyte-Vidal wasn’t born in Ocala, she’s lived here 41 years and considers this her hometown. A Master Gardener since 2003, Jo specializes in soil science and growing vegetables. Although it’s just her and her husband at home now, she grows plenty of veggies… enough to feed her extended family and to donate regularly to area soup kitchens.

“Totally organic is my thing, and it’s not hard to do. It’s just a mindset and learning how to do it,” says Jo. “I don’t buy any chemical fertilizers; I use soil amendments like bone meal, blood meal, manure, compost, ashes and fish emulsion. I get the satisfaction of knowing what’s in my soil, and the food tastes clean with no metallic aftertaste.
“One of the things about organic gardening is timing,” she adds. “I want to plant early enough that I’m not dealing with pests; this way I’m harvesting by the time the bugs wake up! I use no chemical sprays, but I will spray with soapy water.”
Jo strongly recommends raised beds for gardening for several reasons
“You can improve and build good soil this way. You just add to the top and the soil is contained within the sides,” says Jo, who uses stakes to hold the side boards in place. “Raised beds are a lot less work than tilling up a garden plot. They’re easier to weed and care for. You can also build raised beds high enough that a disabled or compromised person can sit by it and garden.”
“The easiest way to get started is with a book called Square Foot Gardening by Mel Bartholomew,” she advises.
Before you waste time and money planting the wrong thing, realize that March is actually too late for such veggies as broccoli and cabbage.
“They’re winter garden items and very prone to insects, so if you plant them now, you’ll be fighting bugs,” Jo explains.
Good things to plant now include carrots, lettuces, eggplant, tomatoes, peppers, chard, bok choy, collards and onions. When it comes to onions, make sure to plant “short day onions,” which are sweet.
Jo starts seeds in her greenhouse in early January, grows them under lights to get a good start and then plants the seedlings in her garden on February 15. When the temps drop, she protects young plants by covering them with portable cloches she makes by cutting the bottoms out of gallon plastic milk jugs. Remove the caps so air can circulate and place them over small plants to keep from freezing.
If you don’t have a greenhouse, you can make your own inexpensive “grow box” with a clear plastic storage box. Just fill it with soil and cover with clear plastic for protection. Of course, you can skip the whole seed stage and just buy young plants to plant directly in the garden, but you will spend more than if you start from seeds.
Jo’s Helpful Vegetable-Growing Tips
Buy from a local farm/garden store that stocks the best plants for our area.
Rotate! Don’t plant the same plants in the same bed two years in a row. A leafy plant takes a lot of nitrogen from the soil, while root plants (carrots, etc.) use a lot of phosphorus. Rotating keeps the soil more balanced and also helps keep the bug population down.
Save your egg shells, let dry and then grind them in a food processor. Add the ground shells to the soil when planting tomatoes. This adds calcium to soil and helps prevent blossom end rot.
Save wood ashes from your fire place, and add lightly to soil to increase potassium. (Don’t use ashes from treated wood, as it contains chemicals.)
Try Jo’s organic pest recipe: add 1 tablespoon dish detergent to 1 gallon water and spray plants to deter bugs.
Florida Native Plants
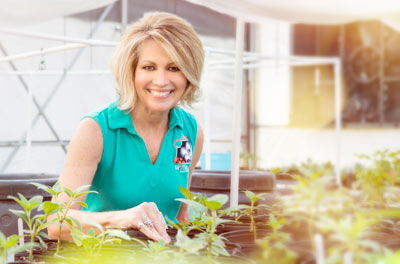
Florida native Leslie Jones has lived in Marion County for 45 years. She became a Master Gardener in 2008 and volunteers an average of 250 to 300 hours per year. Leslie works with the Florida Yards & Neighborhoods team, which is part of the Florida Friendly Landscaping™ program with the University of Florida.

“This is basically about gardening with our climate’s unique soil and conditions,” says Leslie, who teaches a four-part class to help residents learn what and how to plant in our area. She recommends native plants because they work together with Florida’s unique environment while promoting the preservation of our natural resources, especially our water.
“Native plants are naturally adapted to our environment. They survive our high summer temperatures and humidity as well as our sudden, quick cold snaps in the winter,” she explains. “They manage to thrive in our sandy, nutrient-deficient soil without being fertilized and support many more insects than non-native plants. The more native plants in a landscape, the more insects. The more insects, the more birds. The more birds, the more bio-diverse a landscape becomes. A habitat—or mini-ecosystem—will develop.”
If you’d like to plant a garden that will attract butterflies, bees and birds, Leslie recommends the following native plants:
Scarlet Sage
Blanket Flower
Purple Coneflower
Black-Eyed Susan
Coral Honeysuckle
Passion Vine
Firebush
Beautyberry
Simpson’s Stopper
Yaupon Holly
Leslie shares the Following Florida-Friendly Landscaping™ Principals:
Put the right plant in the right place. Plants that are happy in their location will thrive and require less maintenance.
Water only when plants and lawns need it. Operate irrigation systems manually, especially during the rainy season.
Fertilize appropriately and only when necessary. Follow package directions and use slow release, granular fertilizer.
Use organic mulch. It decomposes and improves the soil, inhibits weeds, helps retain moisture and moderates soil temperature.
Use plants and trees that provide shelter and food for birds, bees, butterflies and other creatures. Be sure to include a water source.
Use the least toxic means of pest control. Chemicals are non-discriminate. There are “good bugs” that naturally take care of the “bad guys.”
Recycle yard waste like grass clippings, leaves and pine needles as mulch, or consider turning these into compost to use later as a soil amendment.
Minimize storm water runoff. Water that runs straight to the storm drain carries pollutants. Water that is allowed to percolate into the ground will be naturally “filtered.”
Protect the waterfront. If your home is on a body of water, establish a fertilizer- and pesticide-free buffer zone between the yard and the shore.
Roses
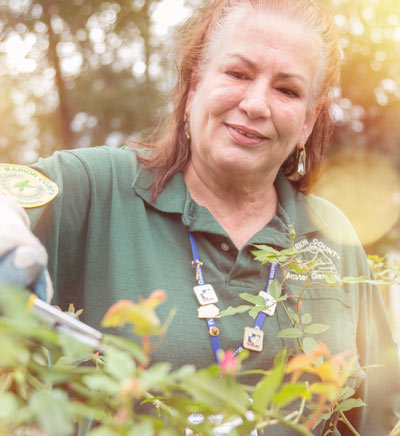
Raised on a farm in Alachua County, Mona Majors is a Florida native who comes by her interest in gardening naturally. In 2007, she decided to put that experience to good use and became a Master Gardener. Mona volunteers an average of 400 hours annually and has been the director of the spring festival for several years.

Mona adores roses, and some of her personal favorites include Belinda’s Dream, Double delight, Rio Samba, All-American Beauty, Angel Face, Dolly Parton and Abraham Lincoln. She’s eager to share her knowledge, especially with people who are concerned about growing roses in Florida.
“We hear a lot that roses are hard to grow, but that’s absolutely not true,” she notes. “They love to be on a schedule, and it’s not a rigorous one, by any means. In my largest bed, I have 42 hybrid tea roses. I might spend an hour a week on them.”
Mona adds that although hybrid teas, minis, floribundas and all climbing roses benefit from a schedule, knock-out roses don’t need much care at all. If you’re new to roses, Mona recommends the month-by-month rose care routine on the website of the Marion County Rose Society (marioncountyroses.org).
Mona’s Helpful Tips for Growing Roses in Marion County:
Before you go shopping for roses, you should know that, in Florida, roses grafted on “Fortuniana” rootstock (Rosa fortuniana, ‘Double White Cherokee’) grow larger, are more vigorous, produce more flowers and live much longer than plants grown on any other rootstock.
Roses like moist, well-drained, nutrient-rich soil, so our Florida soil must be amended.
Add organic material such as compost, manure or peat to increase the water- and nutrient-holding capacity. Soil amendments should be added to the entire bed, not just to the planting hole. Add 2 to 4 inches of organic material, and mix amendments evenly to a depth of 12 inches. If soil is poorly drained, create a raised bed.
Plant roses where they will receive a minimum of six hours of sunlight daily.
Plant bushes 3 to 3.5 feet apart to allow for growth and to cut down on the spread of disease.
When planting, dig a hole as deep as the root ball or slightly more shallow. Remove the root ball from the container and gently loosen circling roots. Plant the rose at the same depth that it was growing in the container. Leave any grafted area just above ground.
Fill the hole with soil, build a water basin with the remaining soil and water thoroughly.
Apply a 2- to 3-inch layer of mulch (compost, oak leaves, wood chips, pine needles, mini pine bark nugget, etc.) around each plant, keeping the mulch an inch away from the main stem.
Irrigate frequently for 6 to 8 weeks to establish, and then water twice a week, spreading the days out for a total of one inch of water per week per rose bush. Modify according to rainfall.
Remove spent blooms (“deadhead”) twice a week, making sure to cut at least below the first set of five leaves. Deadhead after the dew dries to avoid spreading any disease. Cut off any suckers that come up from the very bottom and trim off any excess blooms.
Spray with a rose fungicide once a week religiously. Soak the bush completely until the leaves are dripping, and remember to get under the leaves.
Fertilize with a granular rose fertilizer regularly according to package directions. Every two weeks, also fertilize with a water-soluble rose fertilizer. Twice a year, add about 1/3 cup of manganese sulfate to each bush to encourage stronger canes.
Prune bushes right around Valentine’s Day. Cut any canes that are not the circumference of a No. 2 pencil. Prune total bush height to about 1.5 to 2 feet.


